We independently research, test, review, and recommend the best products. If you buy something through our links, we may earn a commission.
A simple home improvement that will make you feel in control of your space is replacing a lamp socket. You don't even need to point out how simple it is. To begin with, if you get past all the decorations, lamps are surprisingly similar.
Before you remove your beloved lamp, check to determine if the issue is simply a loose socket or if a new one is required. Discover how simple it is to replace a lamp socket—your beloved lamp no longer functions. The best part is that the issue may simply be a loose or non-operational light socket. The important thing is that installing a lamp socket replacement is simple and inexpensive enough for even a beginner do-it-yourselfer.
For adding more Attraction to your house you must know WHERE TO PUT LED LIGHTS IN YOUR ROOM. However, you'll also interact with electrical parts, so you must take the appropriate safety measures. You will be guided step-by-step through the full lamp socket replacement process in this article.
How To Replace Lamp Socket?
If you want to know how to replace a lamp socket, so following are the ways to do lamp socket replacement:
You May Also Read
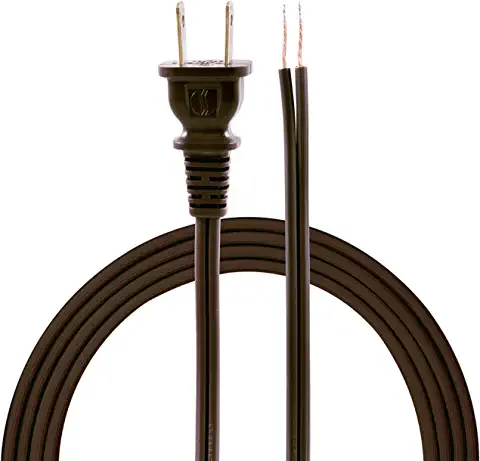
Cut The Socket Off
Find the two wires connected to the light switch mechanism after removing the socket from the shell. Before detaching the wires, note which color screw is connected to which wire. Brass screws are commonly used to secure lamp switches to the hot (black) wire & silver screws to the neutral (white).
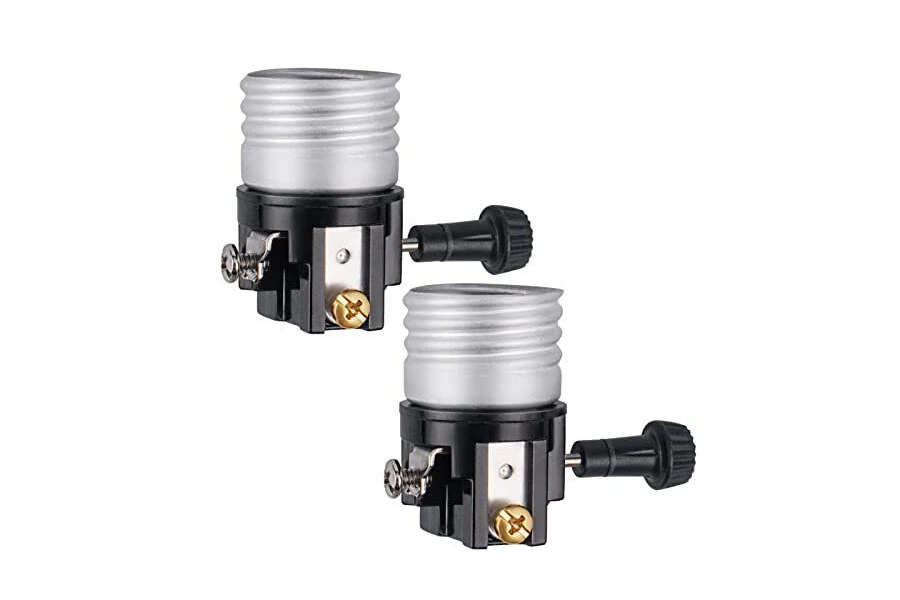
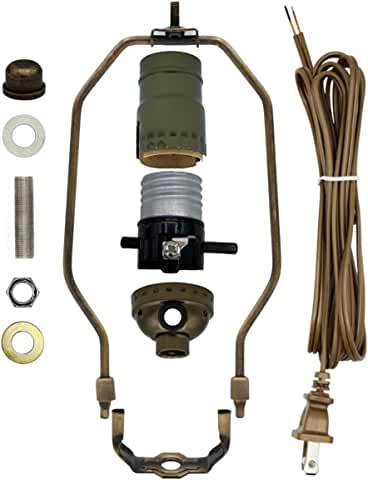
Take The Socket Out
Place the socket shell over the insulator, then place the socket over the shell and insulator. Next, secure the socket and shell into the cap. Attach a quick-clamp plug to the cord's other end. Put the cord's end in the slot on the plug's side and depress the lever at the top. If using a screw-type plug, ready the wire ends like you would for a socket screw connection before knotting them. Before tightening the bare end under the screw head, wrap each wire around the plug's prong. It is harder to lose links by pulling on a rope when there are knots and loops because they prevent wires from unintentionally touching one another.
Related: Check out HOW TO CONNECT LED LIGHTS TOGETHER Now…
Attach The New Socket
- Before threading the installation base of the replacement socket onto the lamp rod, remove the setscrew on the base and then tighten it.
- Each cord wire's bare end should be straightened. The isolated wires should be tightly wound together by clockwise twisting them.
- Wrap the wire end around the silver (neutral) screw terminal beginning with the neutral wire (ridged insulating) in a clockwise motion so that the insulation is on the left side of the screws. Using a screwdriver, tighten the screws firmly. The insulation should not be underneath the screw; only the bare metal end should be.
- Using the same methods, attach the hot wire (smooth insulating) to the brass screw termination.
Conclusion
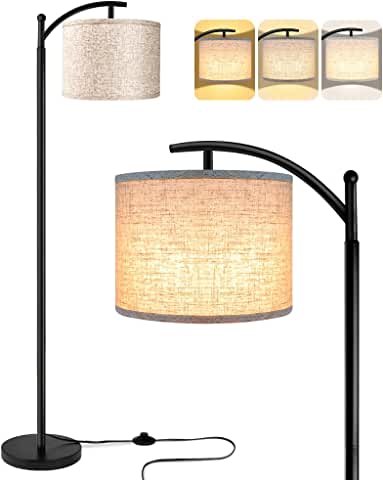
The finest lighting, as you may already know, is the kind that you can control—you know, make it brighter and dimmer, not just turn it on or off. But the truth is that you can replace lamp socket using the guidance we simply offered. You can now have lighting for almost any mood or event just by plugging the lamp back in.